There is a task: given an image of a person, determine the distance between this person and the camera from which the given image was captured.
Terminology and theoretical foundations relevant to this task were discussed in the preface to this document, which we highly recommend reading.
In this part, we will conceptualize the Deep Learning approach to depth estimation from an image, explore options for the synthetic data generation, and demonstrate the first experiment of training a CNN for depth estimation.
Main source of inspiration: Sloth
One of our existing solutions for depth estimation is called Sloth: it takes a pose of a person as input. The pose is represented as 51 float values: triplets of (x, y, confidence) for each of 17 COCO pose keypoints: 3*17=51. Essentially, Sloth, as many other algorithms do, estimates the depth of a person by the size of their projection. Such algorithms suffer from the problem that the person’s projection size depends on the person’s pose and occlusions: a sitting person appears shorter, a person with their hands up – taller, an occluded person – arbitrarily smaller – all these changes can mislead a depth estimation algorithm. But Sloth mitigates this problem by taking into account confidence scores of individual keypoints, and uses priorly estimated “reliabilities” of each “pose bone” projection, and their expected sizes to compute an approximation of an “undistorted reference projection size”. By “undistorted reference projection size” we specifically mean the projection size of a segment that connects a person’s shoulder with a person’s hip as if the person were standing straight and unoccluded. Then this estimated projection size is used along with the focal length and a known reference size (actual 3D distance in meters from a shoulder to a hip of an average person) to compute the depth as Depth = Focal length * Real size / Projection size.
Also, Sloth benefits much from a median averaging of both depth estimation across multiple frames and averaging of individual bone lengths.
Beyond Sloth
The underlying idea of Sloth is particularly inspiring when compared with depth by projection-and-reference-sizes algorithms, where the projection size is determined, for example, from a bounding box height: Depth = Focal length * Person’s height / Bbox height. References such as a bounding box height are very prone to jittering, which is critical on long ranges (small projection sizes). Instead of relying on a single linear measure of reference projection, Sloth computes a weighted average based on multiple linear measures – pose bone lengths.
One of the core ideas of the approach we are advocating in this article is a generalization of what Sloth already does. But instead of estimating the “undistorted reference projection” size by a limited set of pose bones lengths, we suggest making such an estimation based on every pixel of a person and their surroundings.
Main hypothesis
Let us re-formulate what was said in the previous paragraph to provide more intuition.
For a camera with a known focal length, and for an object of a known size, we can compute the depth to this object from the image if we know the size of this object’s projection on the image. But the size of this object’s projection is often not reliable: people rarely stay still and unoccluded, hence, such a projection size is not exactly what we need. Moreover, even if people were standing still and unoccluded, we still have to deal with bbox / pose jittering.
We suggest training a neural network that looks at an image or a series of images of a person, and estimates what the size of this person’s projection would be if they were in a reference pose and unoccluded.
Knowing the projection size, we will be able to determine depth. Knowing the (sub-)pixel location of a reference point on the image of a person, we will be able to find this person’s 3D coordinates and compute distance (range).
Undistorted projection size is conceptually similar to inverse depth, but it is also independent of the focal length and the actual size of the real-world reference object.
Motivation for synthetic data
Training our DL rangefinder model on synthetic data allows us to isolate problems associated with imperfections of real-world data: we get perfect ground truth labels (depths) for each generated image, and we can get this data in abundance. This enables us to focus on the development of the model architecture and training instead of the mitigation of problems associated with real-world data collection.
Also, vast amounts of synthetic data can be used to pretrain a model. It can be fine-tuned with real data later.
Why Blender?
Blender has Python bindings. Each button on Blender’s UI can be “pressed” with a corresponding Python statement. We can prepare a scene, write a script for automated synthetic data generation based on this scene. Upload them to a server and make Blender open the scene and execute the script in a headless mode, generating a synthetic dataset as a result.
Most likely, these needs can also be satisfied by Unreal Engine, which also has Python bindings. It is something to research if we find Blender limiting at some point.
Where can we get 3D models of people?
Both MakeHuman and MB Lab are tools for parametrizable generation of 3D models of people. Currently, we go with MB Lab because, being a Blender add-on, it is integrated into Blender’s runtime out of the box, and has more ready-to-use Python bindings.
MakeHuman, on the other hand, has several character customization properties absent in MB Lab, for example, a vast variety of clothing.
Using synthetic data in training
Data
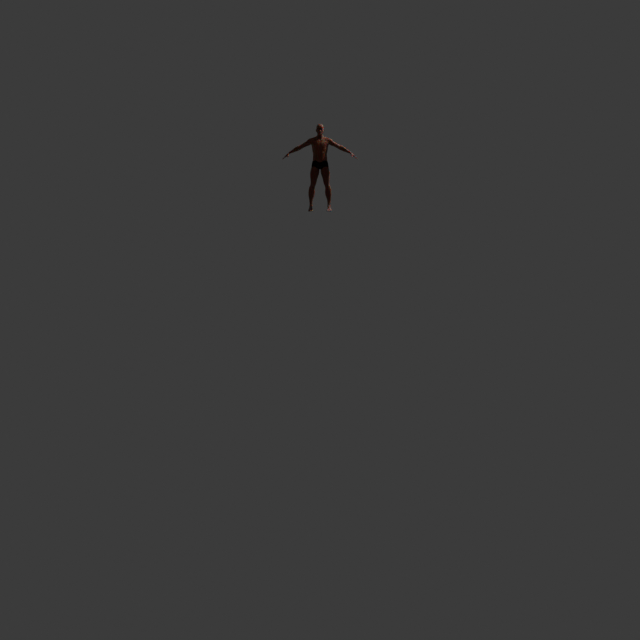
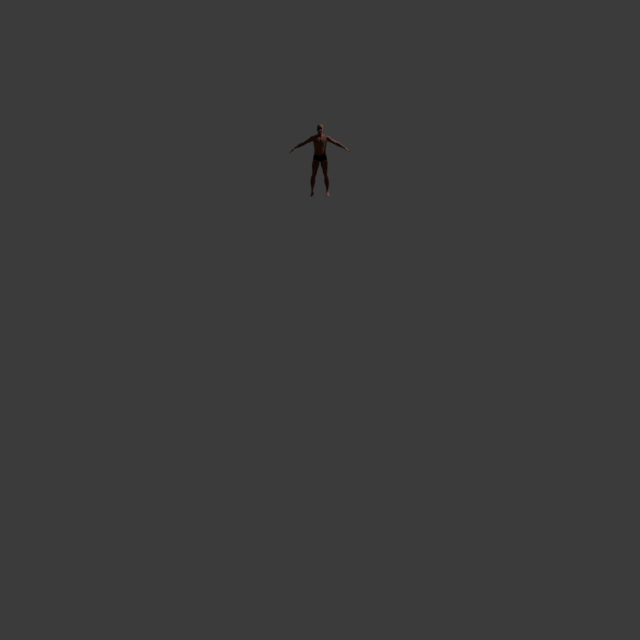
The first NN training experiment was a very simple scene with only one person in it, and the camera flying away from this person.
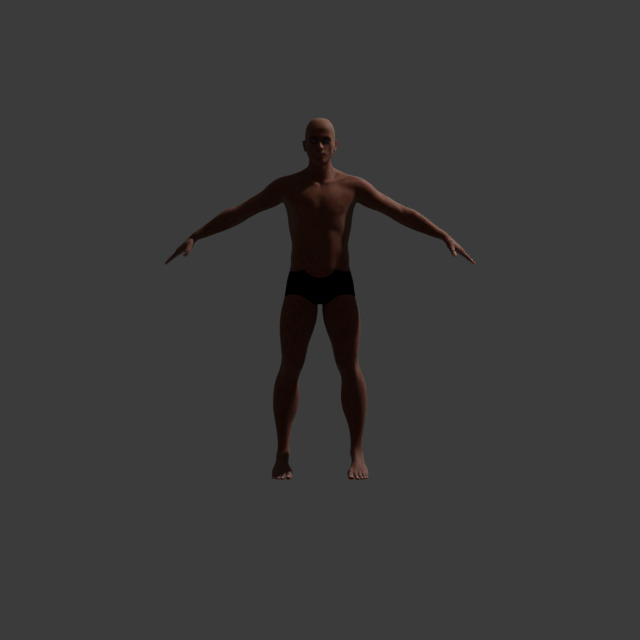
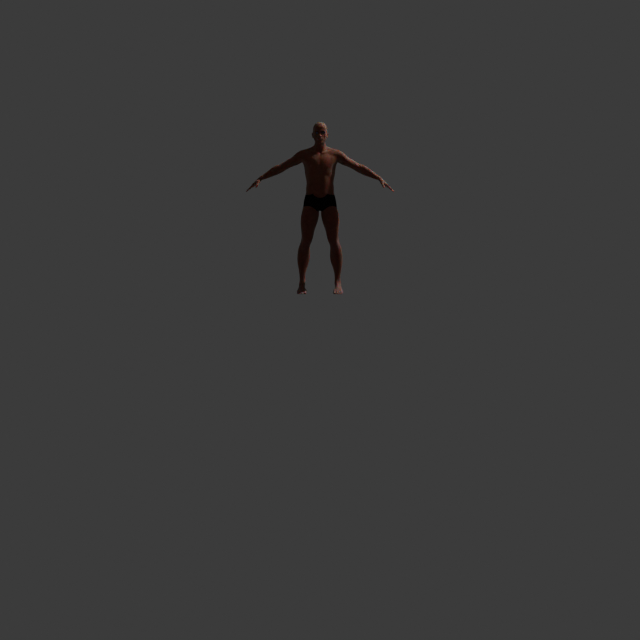
The associated ground truth labels looked like the JSON below
{“Camera”: {“X”: 0, “Y”: -47.5, “Z”: 1.79}}
Which was sufficient for a static person. Min/max distances of 10 and 50 meters were normalized to the [0; 1] range.
The entire dataset of 800 images was able to fit into the 4070S’s memory (12 GB), eliminating the reading from disk bottleneck on each __getitem__ call, which resulted in much faster training compared to training where samples have to be loaded from disk each iteration.
Model
For the experiments described in this article, we use either a simple CNN model or a pretrained ResNet-34. In both, the last layer is modified to output a single scalar value. Using more interesting architectures, like attention-based, VAEs, or diffusion, is something to investigate.
Training
The setup described above achieves < 1e-4 MSE on the training dataset in ~5 minutes of training. The data was too homogeneous to select a reasonable validation set out of it. However, to make a quick sanity check that the model actually learns some underlying patterns, rather than simply remembering the labels of the training set, we conducted a training run with ground truth labels being randomly permuted. The result is the following:

As it is seen on the chart, even with the random labels, the model still converges. It remembers the sample-label correspondence. But it happens much slower than training on actual labels. This signifies that the model apparently can grasp some underlying patterns in the data.
Conclusion
These were the initial steps to assess the viability of the DL + synthetic data approach for depth estimation. Under the simple conditions, the model was able to perform well on the training dataset.
The next steps would be developing a representative validation dataset, varying light, background, poses, and potentially containing real (not synthetic) data.
On top of the established validation framework, we will try techniques like multiple input frames instead of a single one and using YOLO-predicted pose as an input.